4. Controls Menu
The Controls menu holds commands that act on every device connected to the system, and they may reset maximum or accumulated values inside those devices. For that reason each of these commands asks for a password before it runs.
1. Manual Reset
Broadcasts a command to every device in the system to clear its maximum and
accumulated values. Once the password has been entered, press
 and the command is sent immediately; a dialog reports
the result, as shown.
and the command is sent immediately; a dialog reports
the result, as shown.
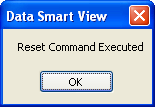
Figure 54 — Manual Reset confirmation dialog (message: "Reset Command Executed")
2. Adjust TOD Period
A special function that adjusts the period of every meter or device connected to
the system, so that it lines up with the configured time, or with the real
period used by the utility's own meter. Once the password has been entered,
press and the command is sent immediately; a dialog
reports the result, as shown.
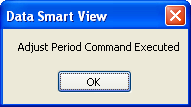
Figure 55 — Adjust TOD Period confirmation dialog (message: "Adjust Period Command Executed")
3. Set Date & Time
Sets the real time clock in the devices so that they all agree. Once the correct password has been entered, the following dialog appears.
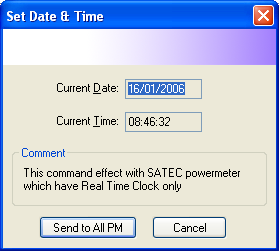
Figure 56 — Set Date & Time dialog
The dialog contains:
- Current Date and Current Time (taken from the computer's clock)
- A Comment box noting that this command only works with SATEC powermeters that have a real time clock
- A Send to All PM button, which sends the time to every device, and a Cancel button
When you are ready to send the time out to the devices, press Send to All PM. A confirmation dialog then appears, as shown.
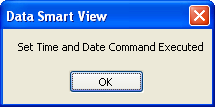
Figure 57 — Set time confirmation dialog (message: "Set Time and Date Command Executed")
4. On Board Data Log
Controls reading data out of the data logger built into certain devices, such as powermeters.
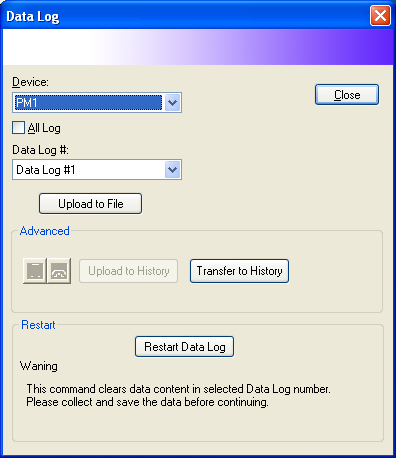
Figure 58 — On Board Data Log dialog
The dialog contains:
- A Device dropdown for choosing the device to read from (PM1), and an All Log checkbox
- A Data Log # dropdown for choosing the log number (Data Log #1)
- An Upload section with an Upload to File button, which reads the data straight into a file
- An Advanced section with Upload to History and Transfer to History buttons
- A Restart section with a Restart Data Log button, and a caution: this command erases the data in the selected log, so save the data first
Reading pulls the data out of the device and into a file; use File → New → Advanced → Data Log From File to display it.
5. User Set Points
Defines the operating conditions and the conditions under which entries are written to the alarm log.
Note
See the User Set Points and Alarm Log section for details.
6. External Data
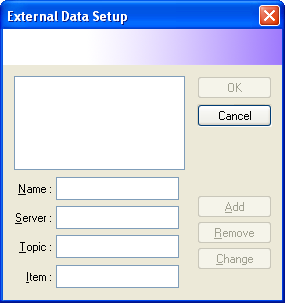
Figure 59 — External Data Setup dialog
This dialog defines external data sources. It contains:
- The list of sources already added, with OK / Cancel buttons
- Name (alias), Server (server name), Topic and Item fields
- Add / Remove / Change buttons for managing the list