Installing the Program
Download the xView installer and double-click it to launch the Setup Wizard. The wizard then installs xView onto your hard disk. The sequence of steps is summarised below.
-
After following the instructions shown in each dialog, or checking the information it presents, press Next to move on to the next step.
-
To go back and change something you entered earlier, press Back.
-
To abandon the installation, press Cancel at any time.
Installation sequence
- Step 1 — Welcome dialog
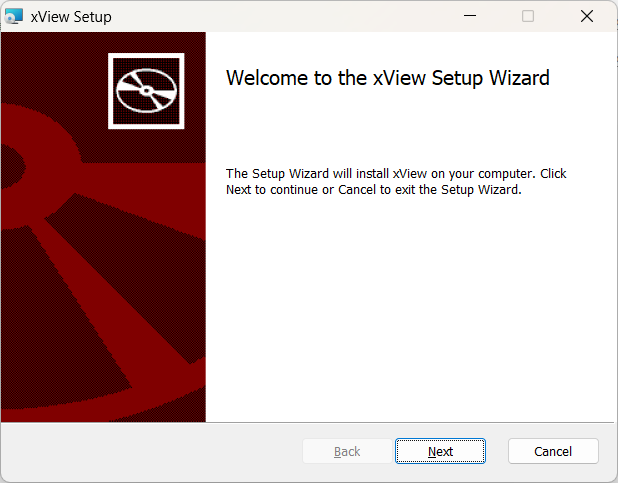
Figure 1 — Welcome to the xView Setup Wizard
-
Step 2 — End-User License Agreement
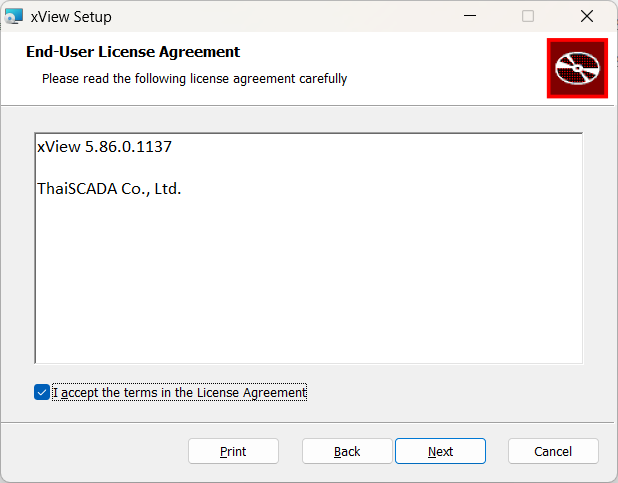
Figure 2 — End-User License Agreement
Read the licence agreement for the xView software by ThaiSCADA Co., Ltd. If you accept its terms, tick I accept the terms in the License Agreement and press Next to continue.
-
Step 3 — Destination Folder
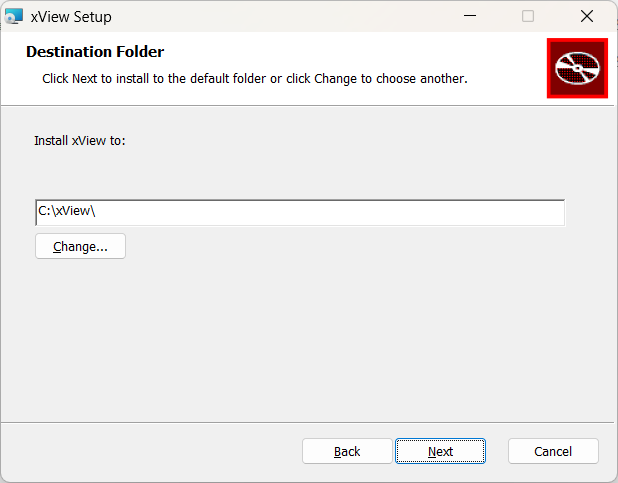
Figure 3 — Destination Folder
Sets the drive and path that xView will be installed to. The default is C:\xView**. To install somewhere else, press Change...**.
-
Step 4 — Ready to Install
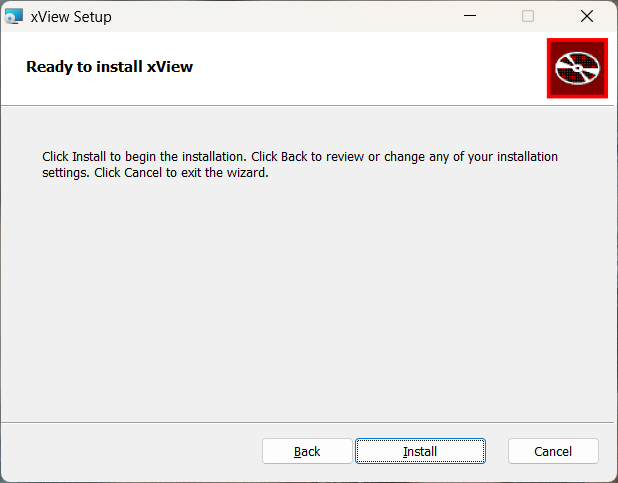
Figure 4 — Ready to install xView
Shows a summary of the settings before installation begins. Press Install to start, Back to go back and review the settings, or Cancel to abandon the installation.
- Step 5 — Setup Complete
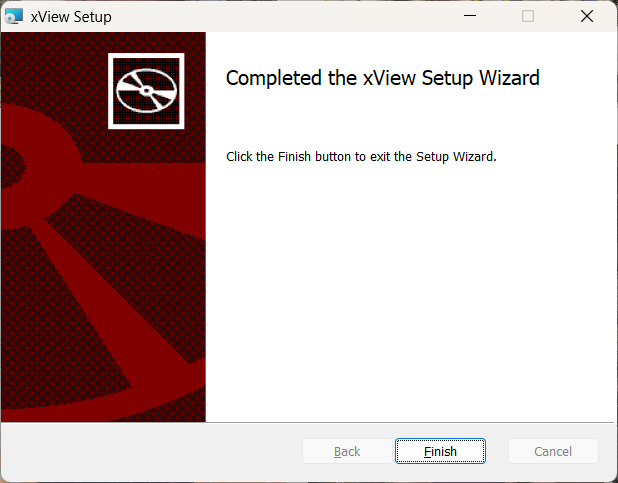
Figure 5 — Completed the xView Setup Wizard
Shown once installation has finished successfully. Press Finish to leave the Setup Wizard.
Note
Setup installs xView into the folder chosen at the Destination Folder step
(default C:\xView\) and makes the necessary changes to your machine
automatically. To have the program start automatically every time the computer
is switched on, see the Options → General section.